This is the final piece of the puzzle. Once you have your baseline setup, the Telemetry screens in Forza Motorsport act as your "eye inside the car." They remove the guesswork and show you exactly why the car is behaving a certain way.
This is the final piece of the puzzle. Once you have your baseline setup, the Telemetry screens in Forza Motorsport act as your "eye inside the car." They remove the guesswork and show you exactly why the car is behaving a certain way.
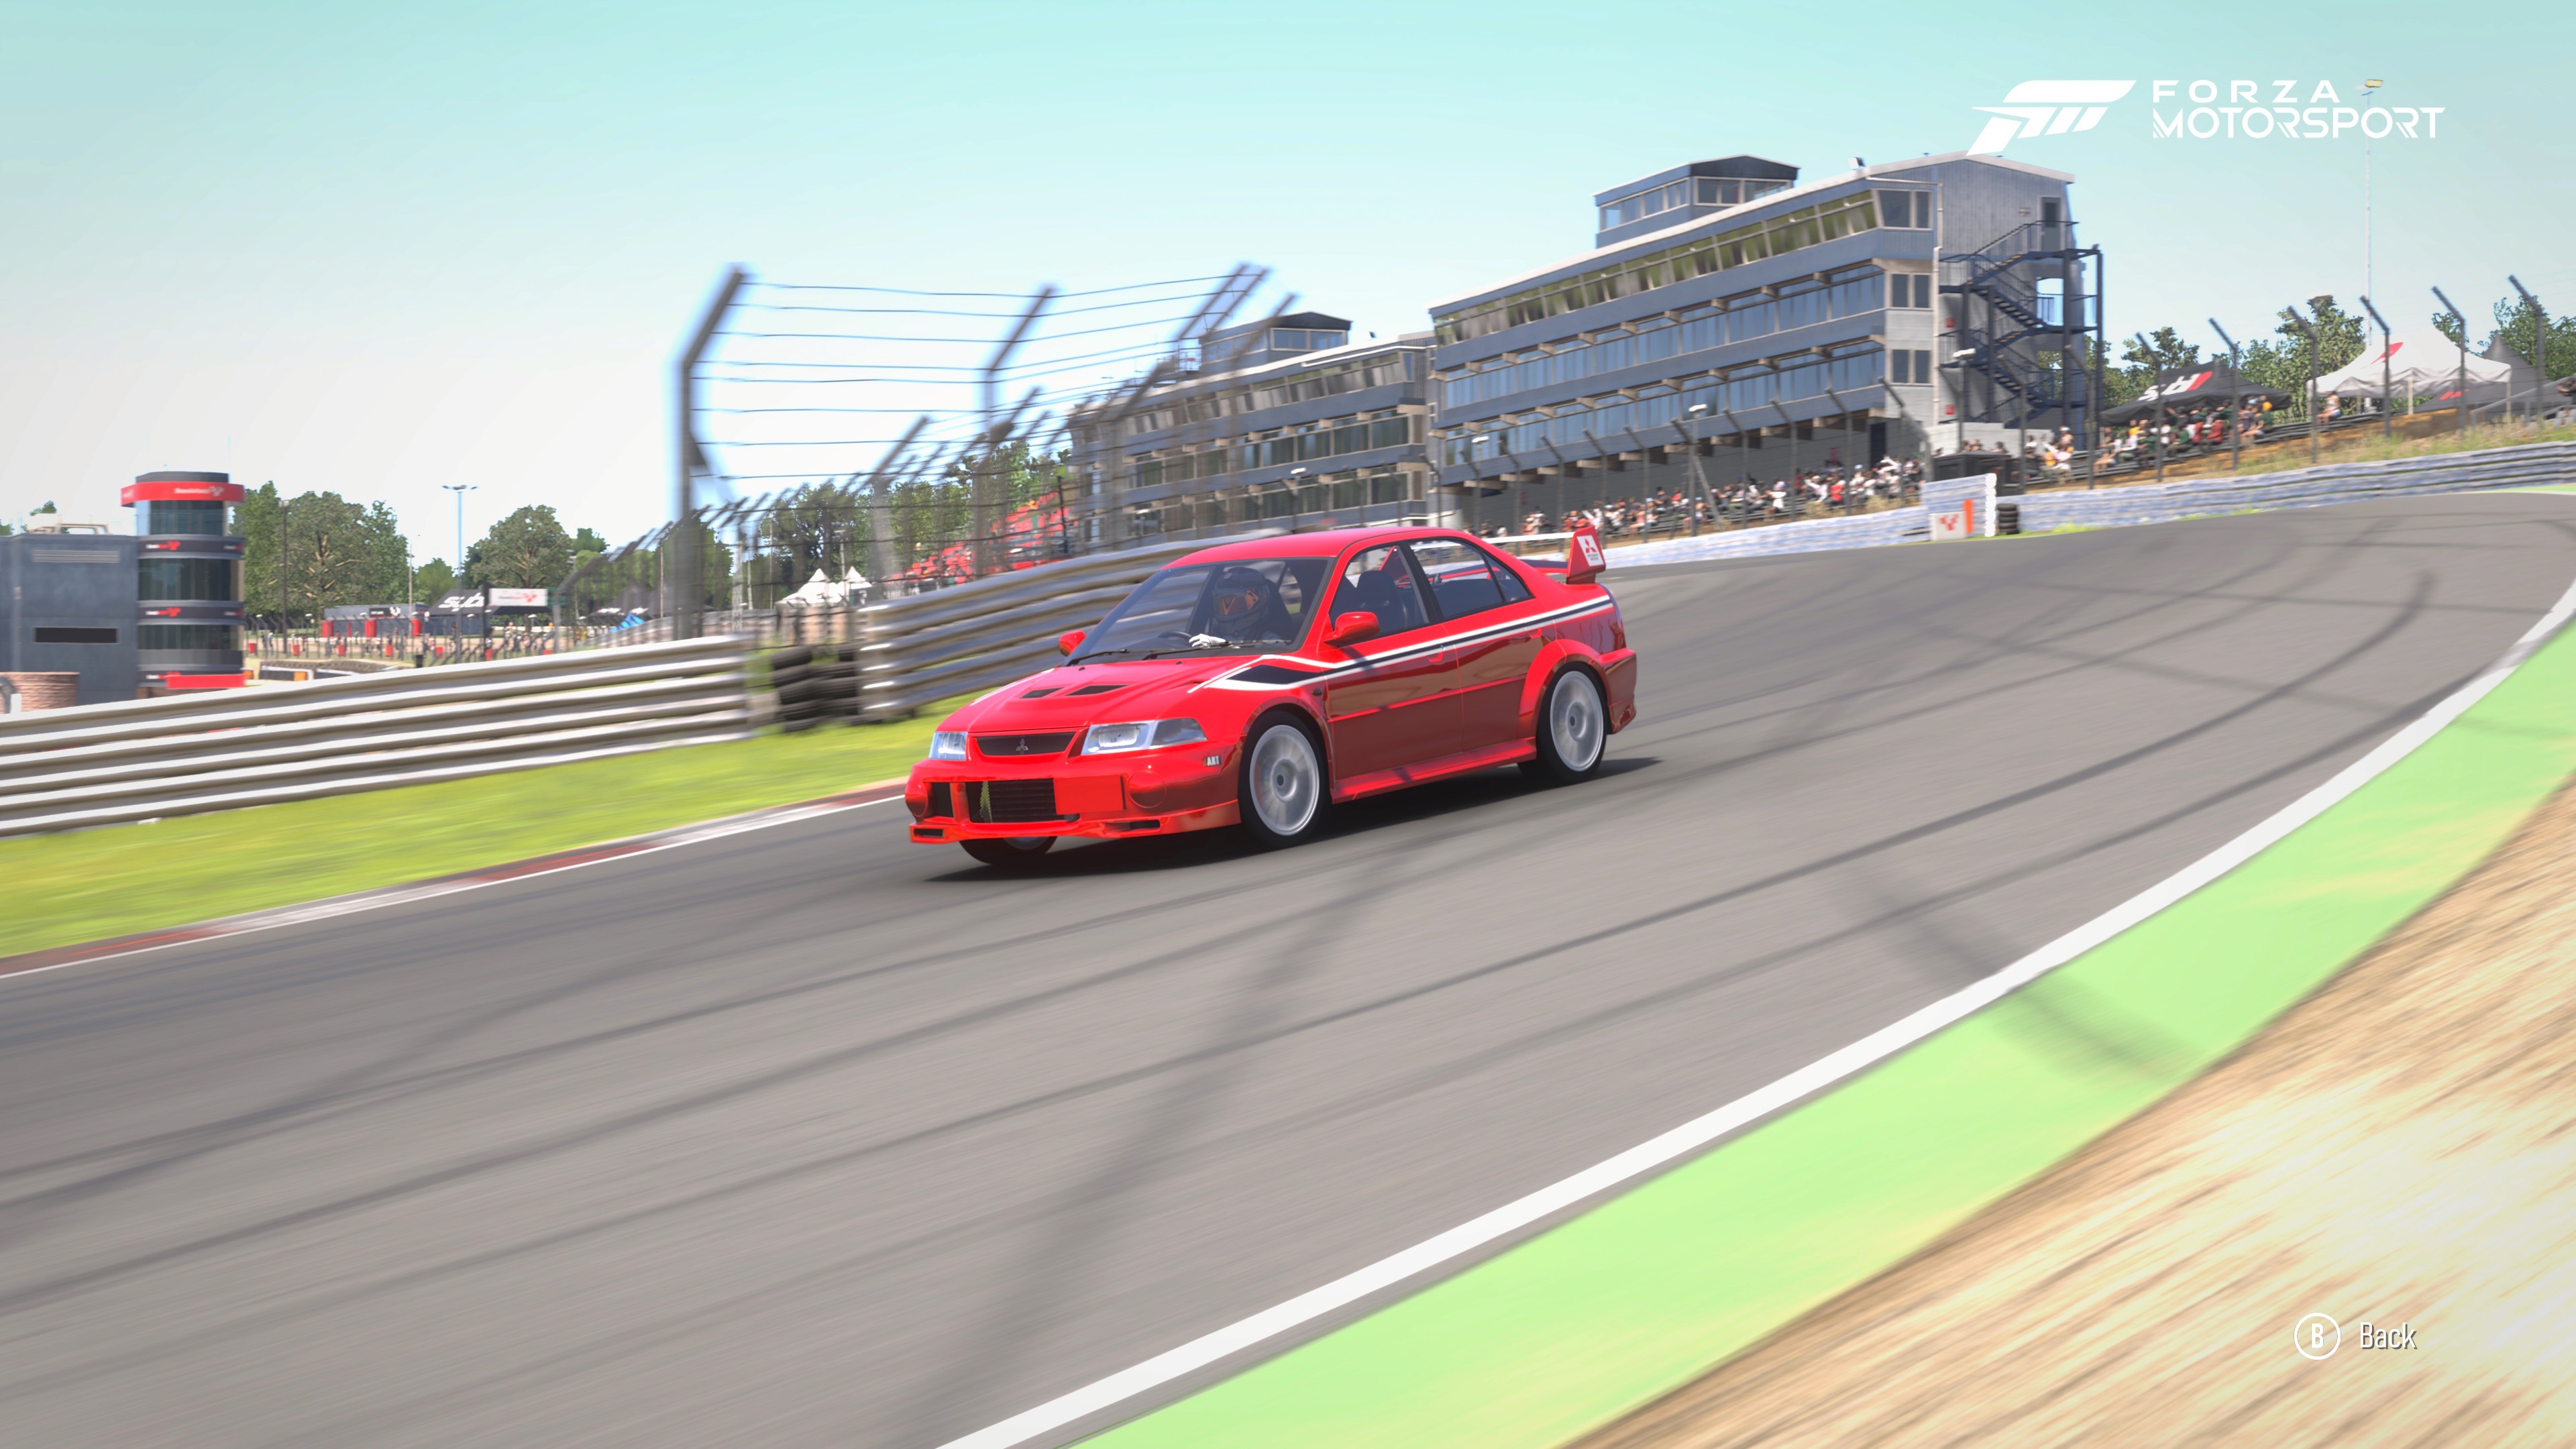
In the heat of a lap at Brands Hatch, your "seat of the pants" feeling tells you the car is sliding. But it won't tell you why. Is the tire too hot? Is the camber angle wrong? Are you bottoming out on the bumps?
To find out, you need to dive into the Telemetry (accessed by pressing Down on the D-Pad by default). Here is how to use the three most critical screens to fine-tune your Evo VI.
1. The Tire Heat & Pressure Screen (The Grip Optimizer)
This screen is your primary tool for tire management. It shows three temperatures per tire: Inside, Middle, and Outside.
The Camber Test: Look at these numbers mid-corner at Graham Hill Bend.
The Goal: You want the temperatures to be nearly identical across the tire, or slightly warmer on the inside.
The Fix: If the Outside is much hotter, you don't have enough Negative Camber. If the Inside is scorching, you have too much. Adjust until the heat is spread evenly across the contact patch.
The Pressure Test: Watch the Middle temperature compared to the edges.
The Goal: If the middle is hotter than both edges, your Tire Pressure is too high (the tire is crowning). If the edges are hot but the middle is cold, your pressure is too low (the tire is sagging).
2. The Friction Circle (The Limit Finder)
This screen shows a "G-Ball" moving within a circle. This represents the total grip available to your tires.
The Goal: You want that ball to stay as close to the edge of the circle as possible throughout the corner without "breaking" the line.
The Fix for Understeer: If you turn the wheel but the ball doesn't reach the edge of the circle and stays toward the top, you have Mechanical Understeer. You need to soften your Front ARBs or increase your Front Roll Center Offset.
The Fix for Traction: If the ball snaps wildly outside the circle when you touch the gas at Clearways, your Diff Accel is too high or your Rear Anti-Squat is too stiff.
3. The Suspension Screen (The Geometry Check)
This is the most "advanced" screen. It shows four bars representing your suspension travel.
The Ride Height Test: Watch the bars as you hit the compression at the bottom of Paddock Hill.
The Warning: If the bars hit the very top of the graph and turn red, you are "Bottoming Out." This causes a sudden loss of grip and can settle the car into a spin.
The Fix: Raise your Ride Height or stiffen your Springs.
The Damping Test: Watch how the bars move after you clip a kerb.
The Goal: The bar should compress, rebound once, and then settle immediately.
The Fix: If the bar "pogos" (bounces up and down several times), you need to increase your Rebound Damping. If it stays compressed and is slow to return, you have too much damping.
4. The Alignment Screen (The Final Polish)
This screen shows your Camber and Toe in real-time as you drive.
The Apex Test: Check your Camber value exactly at the apex of a corner.
The Goal: You want the Camber to be as close to 0.0 as possible under full load. This means the entire tire is flat on the ground when you need grip the most.
The Fix: If you see positive camber (+0.5 or higher) at the apex, increase your Negative Camber in the tuning menu.
The Caster Test: Watch how the camber changes as you steer. If you can't get enough grip in hairpins like Druids, increasing Caster will show more negative camber on this screen specifically when the wheels are turned.
The Pro's Testing Workflow
Warm the Tires: Do two full laps of Brands Hatch to get pressures and temps stabilized.
Check Ride Height: Ensure you aren't bottoming out on the downhill sections.
Balance the Heat: Use the Tire Temp screen to set your Camber.
Refine the Weight: Use the Suspension screen to ensure your Anti-Dive and Anti-Squat are keeping the car level.
By using Telemetry, you stop being a "tuner" and start being a Race Engineer. You aren't just making the car feel better; you are proving it’s faster with data.